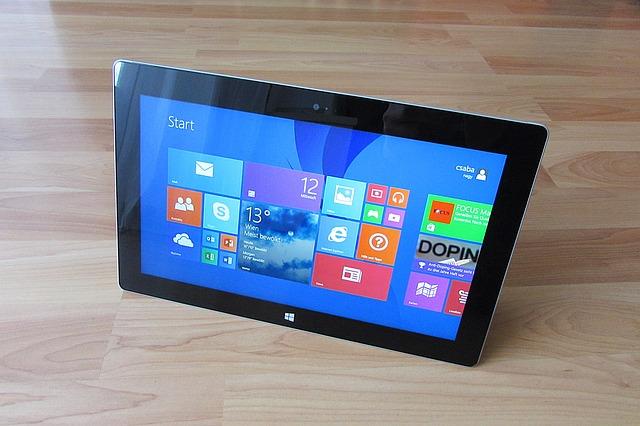
Boot failure is a common problem related to Windows. Microsoft has developed a series of Windows operating system from time to time, Windows 8 being the latest. With each version Microsoft has tried to improve the performance and ease of usability. In addition, each advanced version is intended to overcome the various shortcomings and limitations that are found in the earlier versions of the Windows. There are various issues that are common to all versions of Windows. For example, boot failure is a problem that can happen with any versions of Windows including the latest Windows 8. However, there are various means using which such an issue can be resolved.
Automatic repair is one of the many solutions that can help you overcome the boot failure issue quickly and easily. This inbuilt option comes along with many Windows versions including the latest windows 8. In case of any boot related issues, this option can be effectively and efficiently used. When a system running on Windows 8 fails to boot, the system tries to repair Windows by launching the Automatic Repair option. The Automatic Repair option, attempts to repair the damaged system files that are required to boot the system. In most of the cases this option proves to be sufficient in overcoming the boot related issues. However, there are times when even Automatic Repair option fails to work.
The Automatic Repair problem
There could be many reasons for a failed automatic repair. However, the most common problem is some errors or missing files on the hard disk. Such a problem often prevents Windows 8/8.1 to boot properly. More often, a failed automatic repair option is supported by some error messages as well as mentioned below.
Automatic Repair couldn’t repair your PC. Press ‘Advanced options’ to try other options to repair your PC, or ‘Shut down’ to turn off your PC.
The Automatic repair problem can make the situation worse for you if you do not have any working backup. It is recommended to have a look at the log files to know the exact reason for failure. It is very much possible to view these files, if your hard drive is working.
In such a situation, you can make use of the two advanced options introduced in the Windows 8. The Refresh option and the Reset option are the two latest features in Windows 8, which allows you to get your system back to a stable state without losing any data. This is a quick process and does not require waiting for the entire day to get the process completed.
In order to Reset/Refresh your PC, you need to navigate to the Advanced options -> Troubleshoot. Then you can either choose the Refresh or Reset option as required. However, in case the Windows registry is badly damaged or corrupt, this option might fail and the system will take you back to the WinRE screen.
Refresh PC
In Windows 8, you can carry out the refresh option alternatively by navigating to the Control Panel -> General -> Setting -> Refresh. The Refresh option allows you to reload Windows without losing your personal data. This action can be performed anytime you feel your system is not performing up to the expectation. By doing so, you would be able to retain all your data as well as personalized settings. In addition, the Refresh option would retain the applications that have been downloaded from the Windows store. However, the software and programs might get removed. In short, the Refresh option would restore the PC settings to its default state, without hampering the data and settings.
Reset PC
The Reset option can be carried out in Windows 8 alternatively by navigating to the Control Panel -> General -> Setting -> Reset. The Reset option allows you to completely reset your PC to its original state. This option is helpful in cases when you want to restore your PC to the state when it was originally purchased or you want to give away your PC. By doing so, all the personal files and folders would be removed and your settings would be restored to default values.
As already discussed, you might encounter a situation where these two options might not work. In such a situation, you can try the below mentioned procedure. However, the below mentioned steps are recommended only if you are trying to use the “Refresh your PC” or “Reset your PC” options in Windows RE in a non-bootable state.
- From the WinRE screen, select the Troubleshoot option and then the Advanced options.
- After selecting the Advanced options, select the Command Prompt
Note: Enter the password for the user name, if prompted.
- Go to the Command Prompt and type the following command and hit Enter.
cd %windir%\system32\config
This would change the directory to \Windows\System32\config folder.
- Type the following command one after another and hit Enter.
ren system system.001
ren software software.001
This would rename the System and Software registry hives to System.001 and Software.001 respectively.
Note: Renaming the System hive is required only if you wish to Refresh your PC. You would not be able to use the ‘Refresh your PC’ option if you have renamed the Software hive. However, if the Software hive is corrupt, you might not be able to work with the ‘Refresh your PC’ option. In such a situation, you will be able to work only with the ‘Reset your PC’ option.
- Once done, you can get out of the command prompt. This can be done by typing the ‘exit’ command without the quotes.
- Reboot the PC to get back to the ‘Automatic Repair Screen’.
- Again navigate to the Advanced options -> Troubleshoot.
- Select either the ‘Refresh your PC’ or ‘Reset your PC’ option as desired.
Source: Pixabay


